I’m currently in the middle of whipping the office/craft room into shape. I have a lot to show you over the next few months, but here’s one little project I had fun doing.
I adore monograms. If I had any money, I’d cover my bathroom in monogram towels. They would be everywhere. Nothing stops me dead in my tracks like seeing the alphabet on some random object. Maybe it’s because I like to have my vanity stroked, or maybe it’s simply because I’m a huge fan of words, language and most expressions thereof.
So, when I saw these wooden letters at Target, I snagged a K for my office. I wasn’t sure what I was going to do with it, but I knew I wanted it. Later, I remembered I had gold glitter in my horde, and that was that.
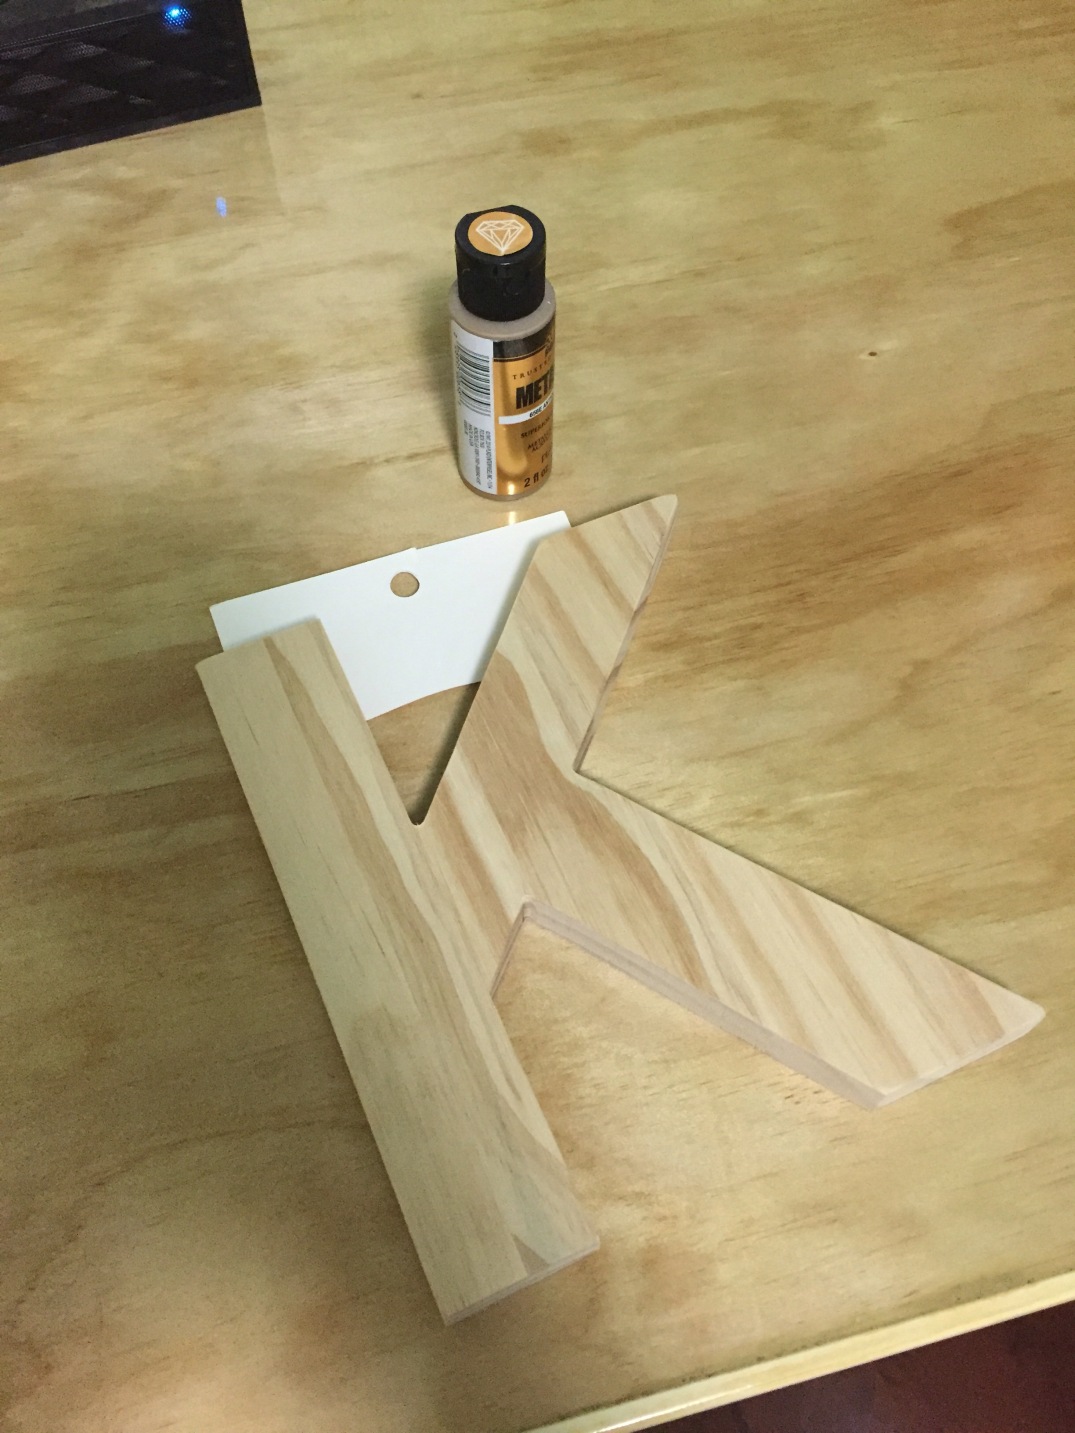
First, I painted the background gold. Using gold paint from this project. But it was inevitable that I should have gold paint. A match made in craft heaven. 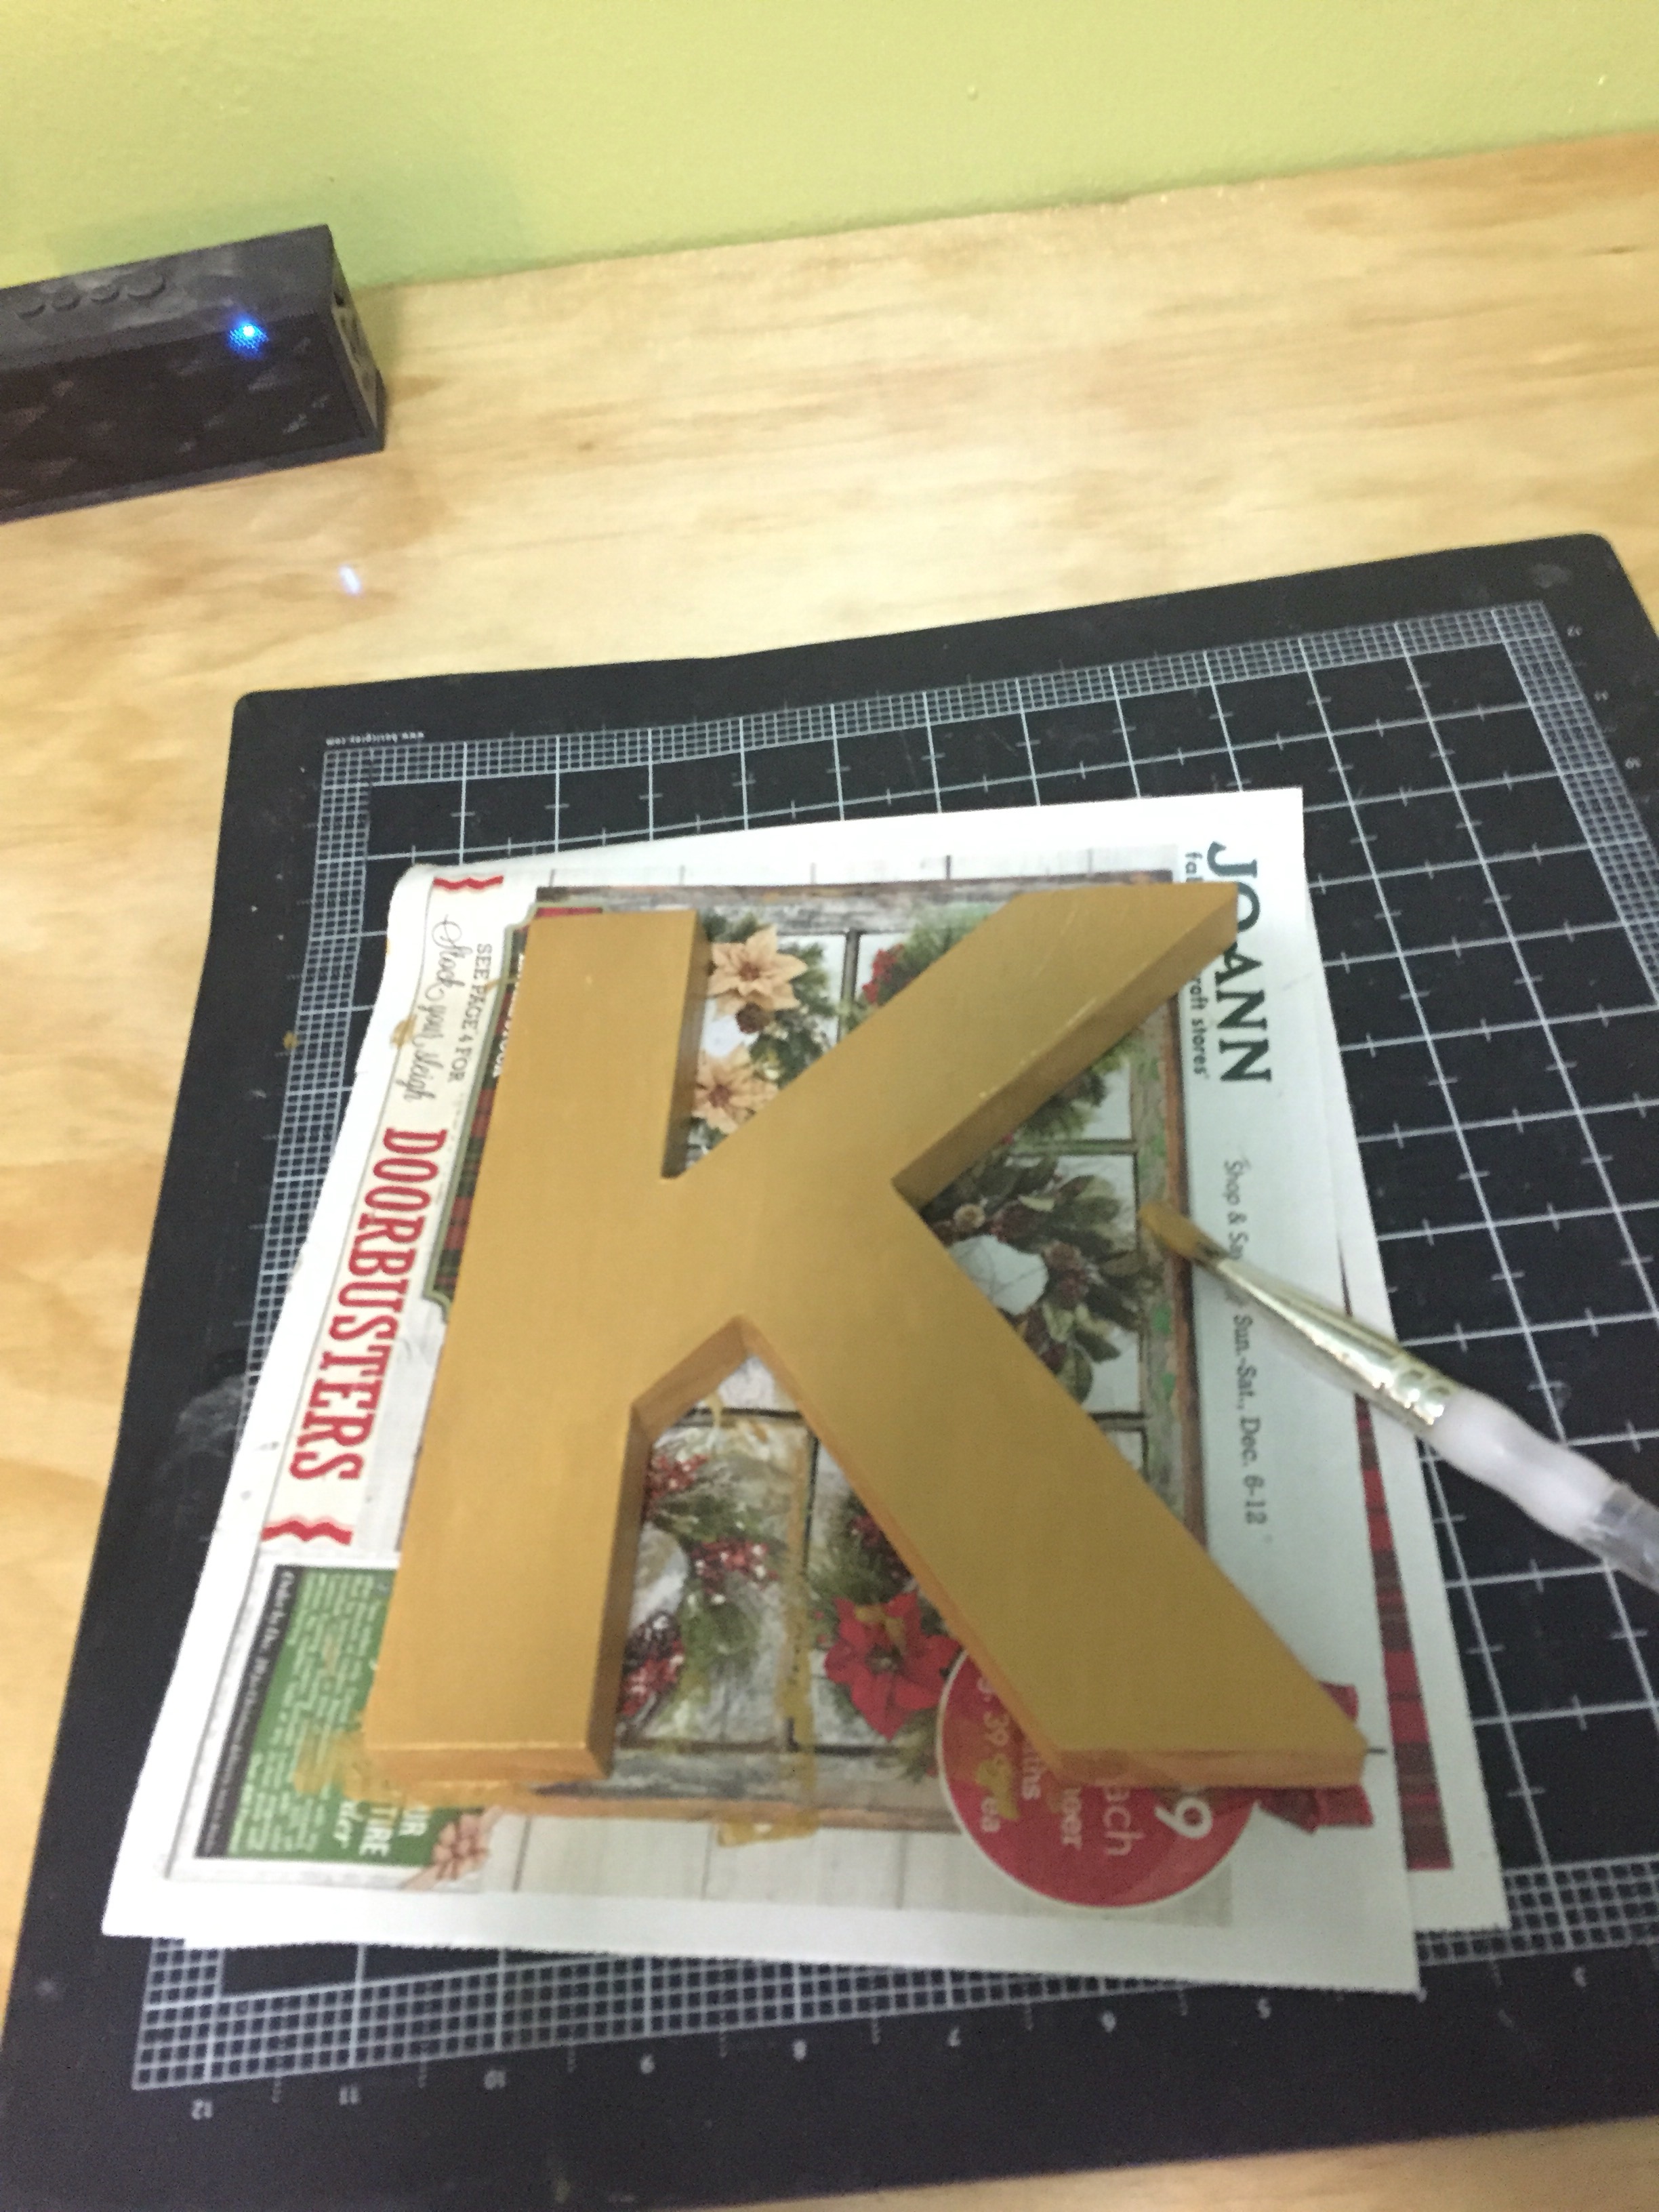
Then I used a whole lotta Mod Podge and stuck a whole lotta glitter to this thing. Then I Mod Podged over the whole thing again.
Pro tip: do not dip your brush into your whole container of ModPodge. You will leave glitter in it. I found this out. Pour some out into a small bowl or on a paper plate or some shit. 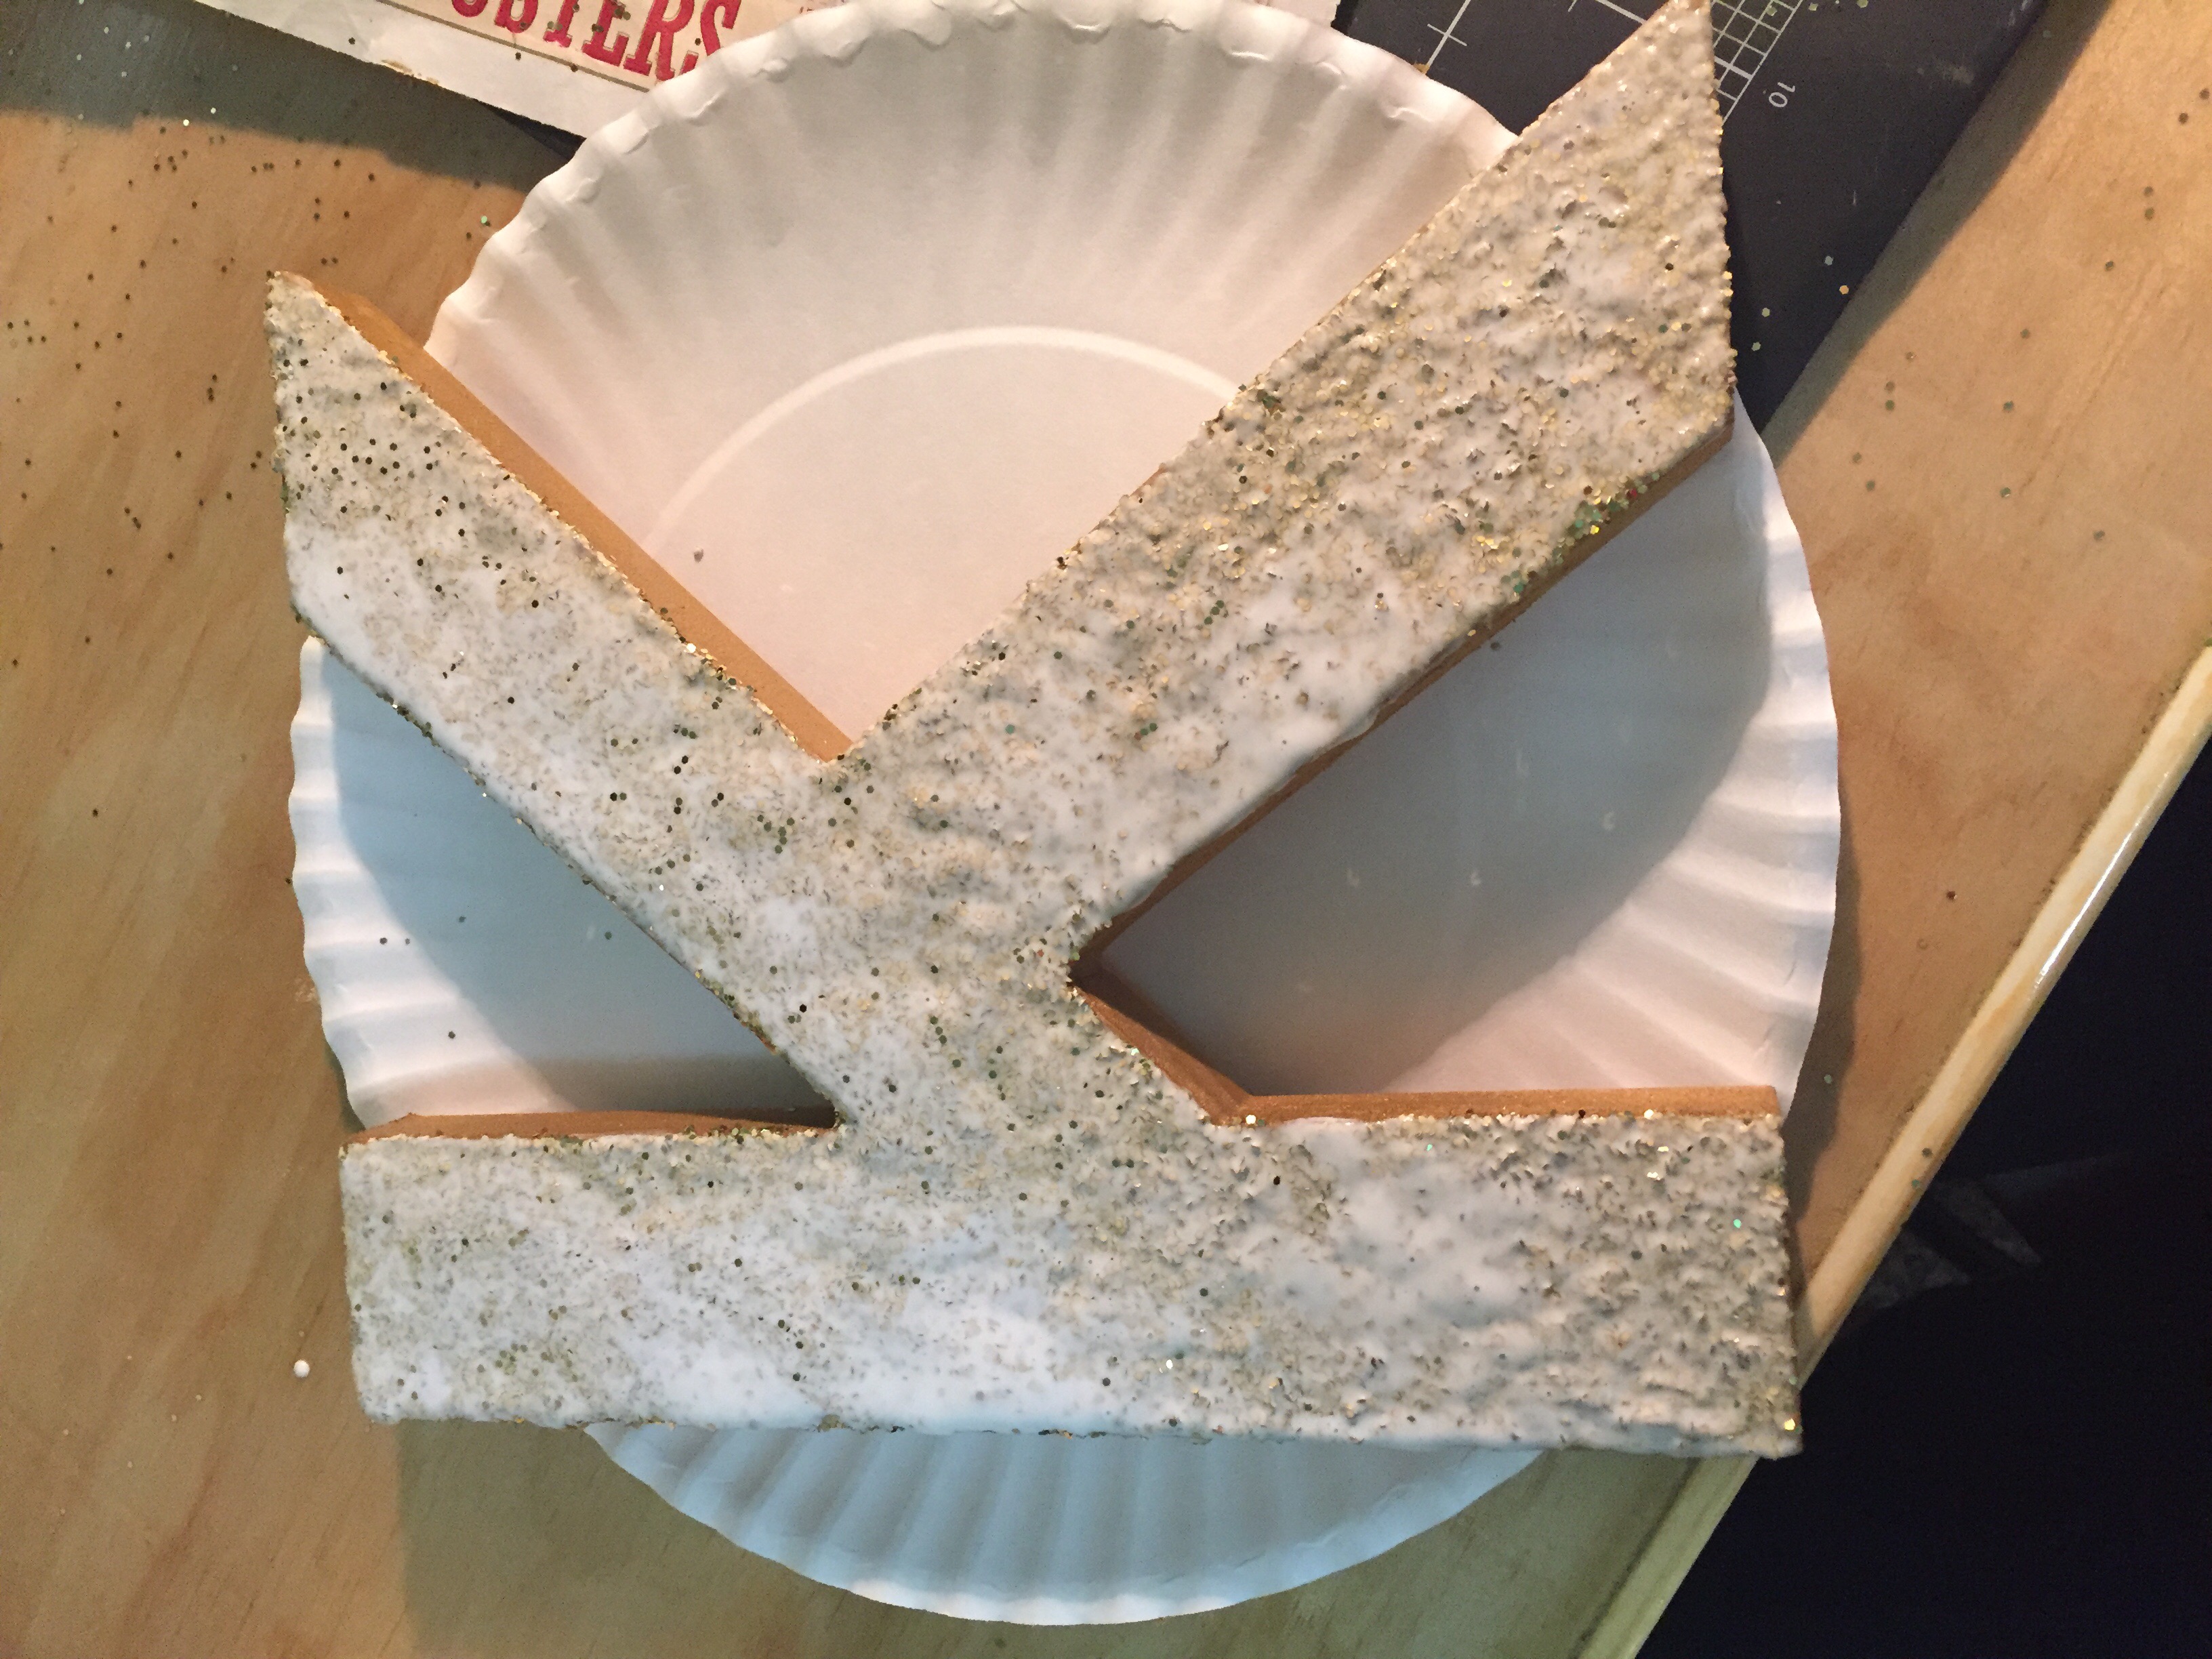
Let dry. Then display in your office (which mostly your kids use to watch YouTube videos, but that you like to pretend you have ownership over). Then spend some time cleaning up all the excess glitter that went everywhere. But it was worth it for your very glittery monogram.
The finished product:

Look at that pretty glitter!
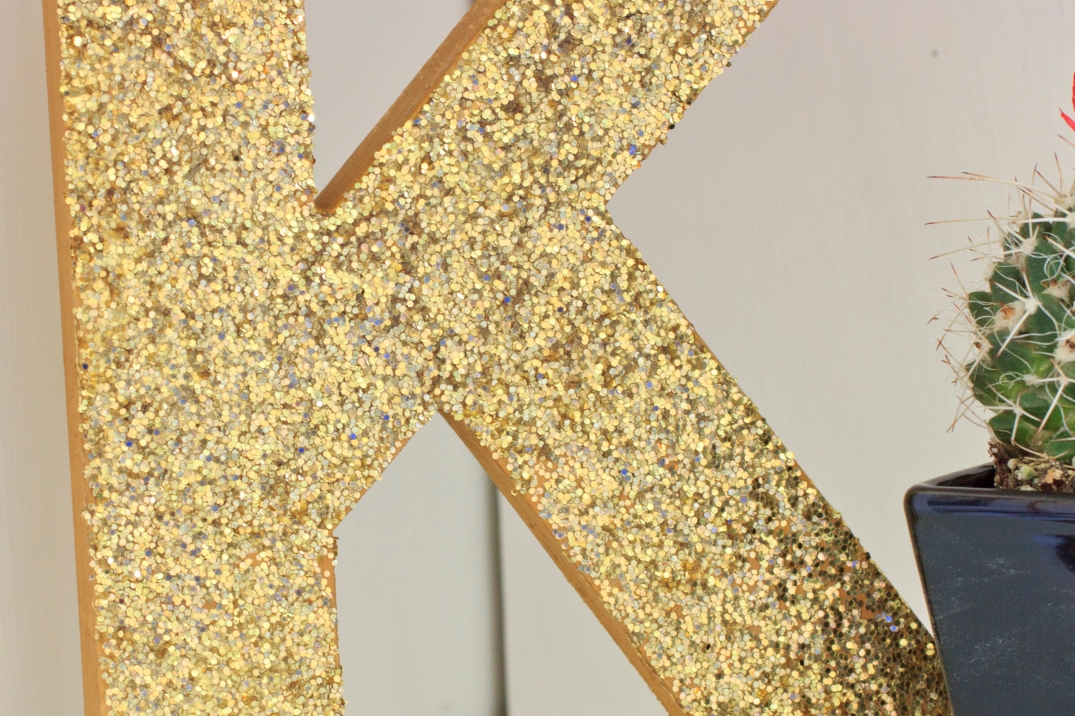
Look at it!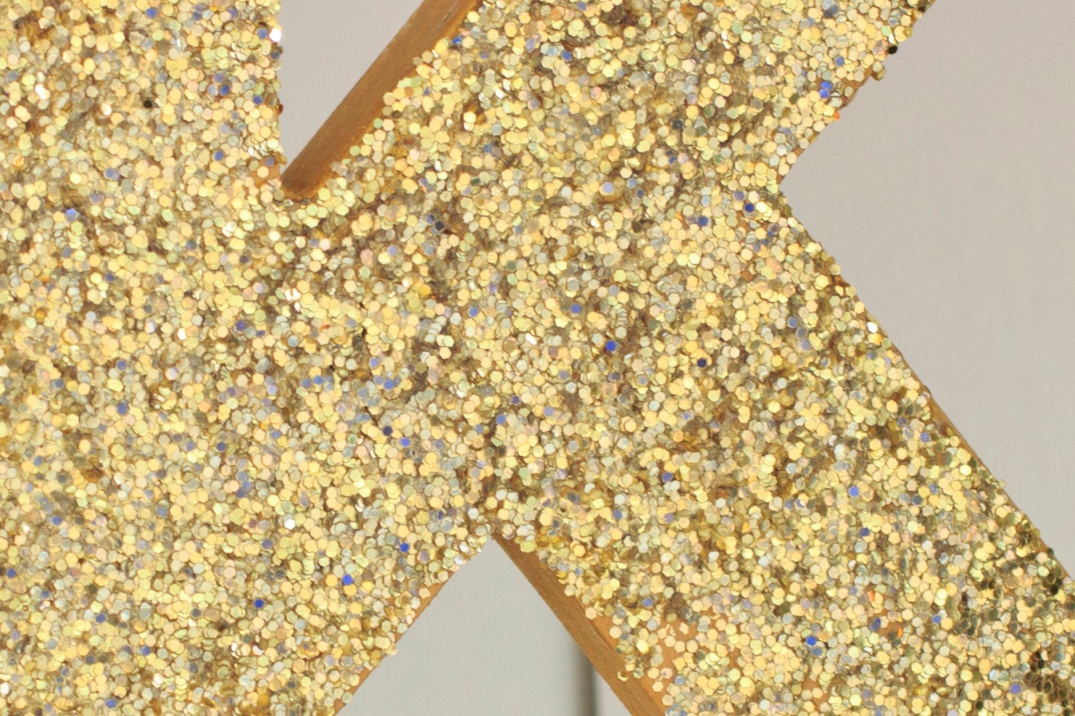
I am so pleased.